We’ll show you how to cut perfectly straight lines on wood with a circular saw! Here are four simple methods for cutting straight accurate cuts on boards and plywood!
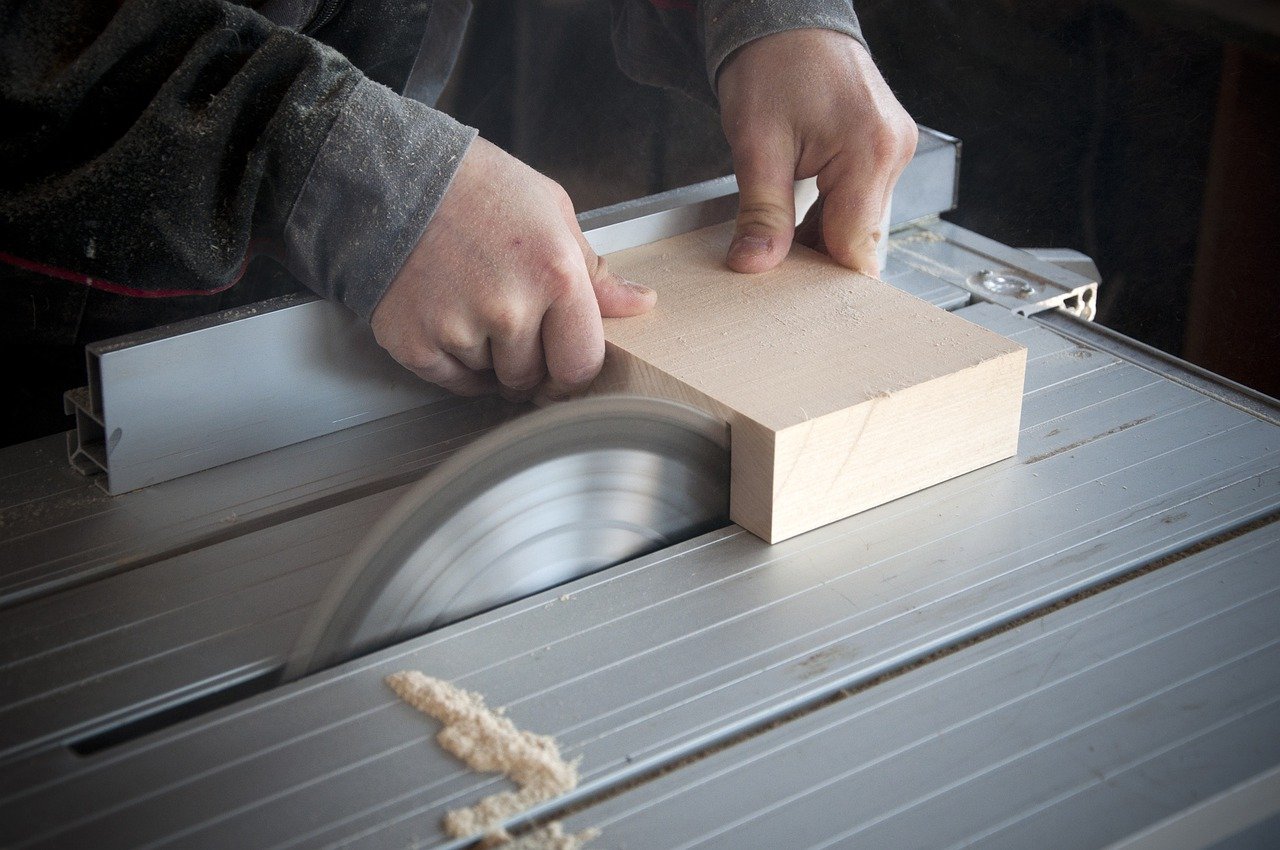
A circular saw makes straight cuts with ease.
We’ve all used a circular saw to cut a straight line. Even with our best efforts, the blade continually strays away from the marked line. We’ve been at this for a long time, and the blade has finally gotten caught when we attempted to get the saw back on track. We just lost time, plywood, and money. Most circular saws don’t have a good method of moving in a straight line. I’ve found a solution. Today, I’m going to show you four simple methods for cutting straight lines with a circular saw.
Circular Saw
A circular saw is defined as a handheld instrument with a spinning blade used to cut wood. Ripping, crosscutting, and mitering are the three most basic types of cuts we’ll make using a circular saw.
Rip cut: is made either along the length of the board or along the grain of the wood.
Crosscut: is created along the grain of the wood or the board’s breadth.
Miter cut: is made across the width or grain of the wood, known as a “cross-cut.”
What Is The Best Way To Cut Plywood?
“How to make straight cuts on the plywood?” is a question that many Do-It-Yourselfers would ask. A table saw can be used to cut plywood in one way.
When working with plywood, you should be careful about a few things related to a table saw. First, some woodworkers are terrified of using a table saw. Secondly, placing a hefty piece of plywood on a table saw may be difficult. Finally, attempting to cut a huge piece of plywood on a tiny table saw is dangerous.
A circular saw may be used to make straight cuts on plywood in another method. We’ve all attempted to cut a straight line with a circular saw and have failed. Circular saws don’t have a good method of working with a straight line. Even after our best efforts, the blade always strays from our pencil line. When we try to get the saw back on track, the blade binds up. We’ve now wasted our time, plywood, and money.
It’s not possible to make those precise cuts with a circular saw on its own. A fence or cutting guide will be required to aid it.
What Is the Easiest Way to Make a Straight Cut on a Circular Saw?
A fence is usually not included while buying a circular saw. This usually implies that we must operate the tool without using a template or guide. A fence or a guide for the blade helps in straightening the saw make straight, consistent cuts.
Making your own cutting guide or purchasing a store-bought fence can help our circular saw cut straight without fail every time.
Four creative options to make perfect cuts with your circular saw.
Method of Speed Square
A speed square is one of the simplest methods to make quick, straight cuts with a circular saw. And a speed square isn’t just a one-trick tool. It’s a fantastic multifunction tool for other shop tasks. My speed square is also used to ensure accurate miters when using my miter saw.
The speed square is generally placed on the side of the workpiece closest to me. I turned the speed square upside down so you can see how it fits on the workpiece. For the greatest results, position the speed square on the same side as your starting cut. Also, put the speed square against the workpiece.
How Does It Work?
- Make a cut at the locations you’ve drawn.
- Place the speed square against the saw’s base plate and align the blade with the mark.
- Make the cut with the base plate of the saw against the square.
What Is the Best Way to Use It
- Shorter speed square cuts and runouts are used in the end portion of a frame.
- Miter cuts with a 45-degree angle are most common.
Cutting Guide for a DIY Circular Saw
A crosscut jig or a circular saw cutting guide aids in the precise execution of crosscuts and miter cuts. The fence is used as a cutting guide or barrier for our circular saw. The jig’s base plate slides against the fence. The fence guides the saw in making precise cuts.
With only two scraps of 1/4″ plywood, I was able to make my cutting guide in about ten minutes. You can also use MDF instead of plywood.
The larger piece of plywood serves as a foundation for the jig. It also aids in the accuracy of the saw blade. The jig’s edge is positioned precisely where we want to make our cut.
The narrow board is attached to the larger one with adhesive. The small piece serves as a fence for the base plate of the saw, making it easier to maintain.
I cut my guide to be 12″ long. You may make the jig longer for greater cuts if necessary.
How Does It Work?
- Make a line for the cuts on the wall.
- Clamp the jig in a position where the edge of the jig is on the markings.
- Make the cut against the fence and support the base plate of the saw with it.
What Is the Best Way to Use It
- Crosscuts, bevels, and miter cuts are all examples of crosscutting.
- The maximum length of a cut is limited by the cutting guide’s length.
Kreg Rip-Cut
The Kreg Rip-Cut is a simple method for us to cut straight lines with our circular saw. The Adcraft Universal Rip-Cut sled may be attached to the most popular circular saws. The Rip-Cut fence follows the straight edge of our workpiece, ensuring a precise cut every time. The fence may be adjusted to cut materials up to 24 inches wide. We can set the fence once and then make identical rip cuts for our DIY projects.
How Does It Work?
- Cut around the outer edge with a pair of scissors. Make notches at the six spots to mark where you’ll cut the sheets.
- Adjust the fence so that the blade cuts along the line.
- Push the fence against the workpiece using the Rip-Cut’s handle to make the cut.
What Is the Best Way to Use It
- Rips up to 24” wide are possible with any length.
- Repeatedly cutting is known as “repeated cuts.”
- Breaking down boards of wood or MDF.