The Most Exciting Table Saw Jigs, you Can Make at Home. If you have a small group of jigs, you’ll be able to free your working creativity.
The good thing is that you wouldn’t want to spend a lot of money on the required variety of jigs because you may produce a large variety of them at home.
We did a little research on the internet and discovered a number of handy ideas and videos that will provide you an idea of the sort of table saw jigs you may easily make – as well as what to do with them.
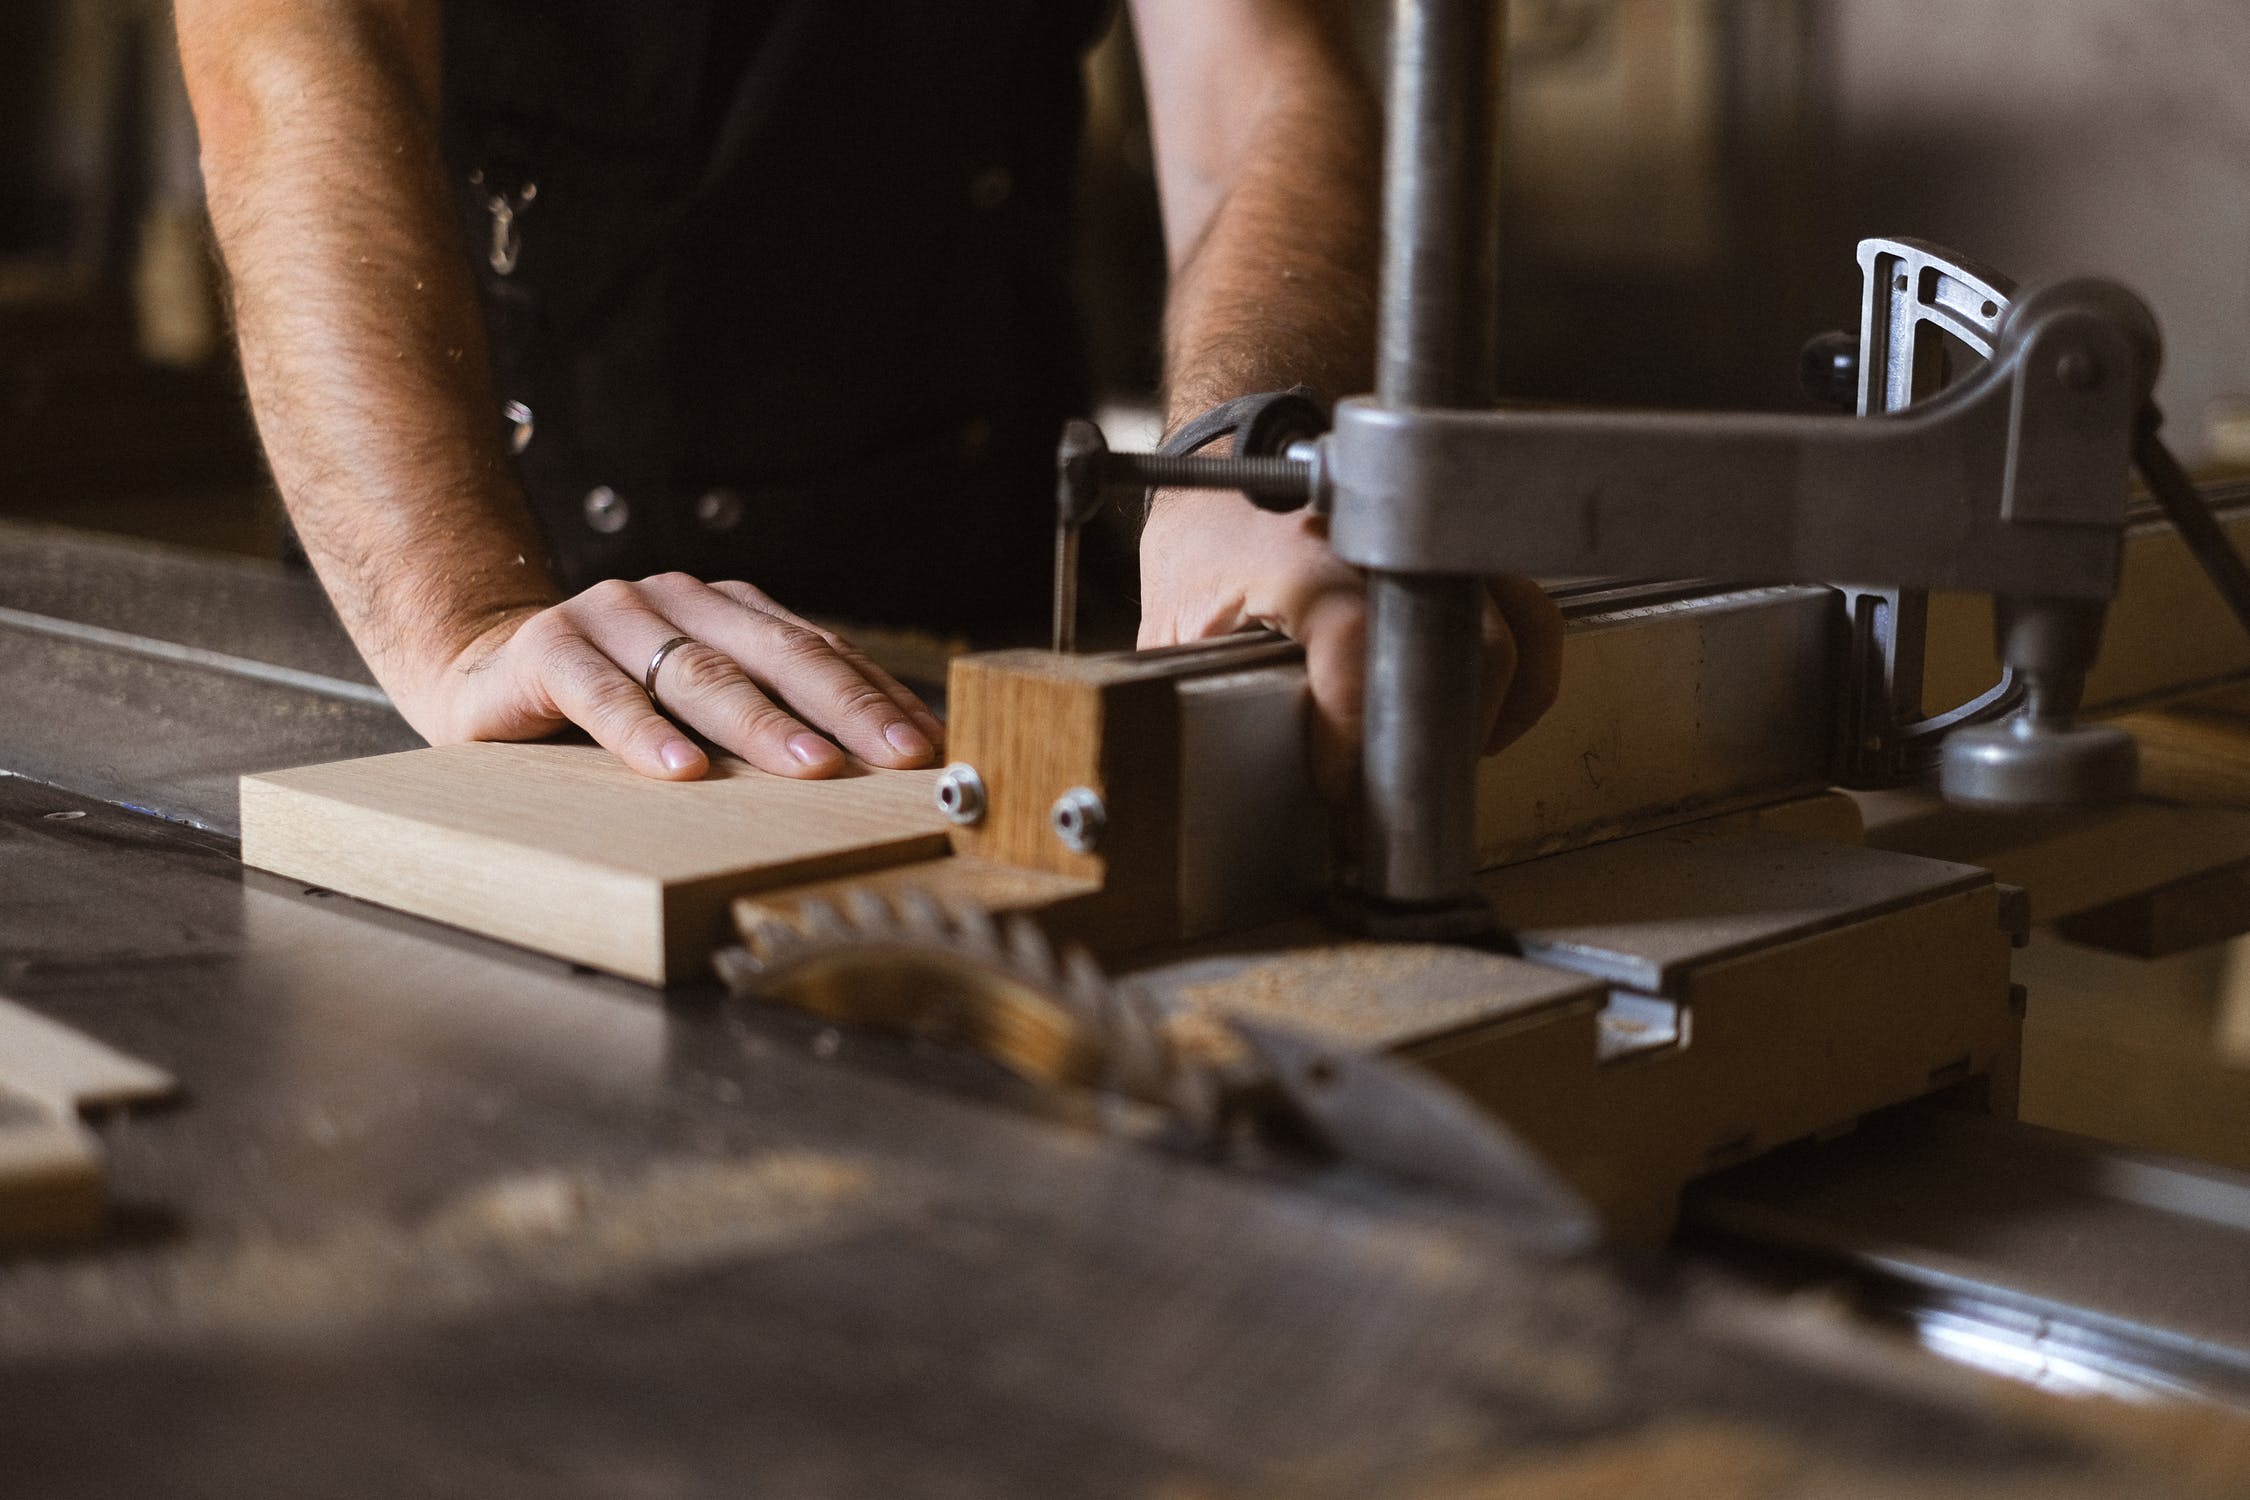
Circular Jig
The easiest method to make a cut in a circle of wood, especially those with huge diameters, is to use a table saw, as this plan explains. Here, you’ll find out why using a table saw is a superior option to bandsawing or routing when cutting this shape.
It’s simple to make nearly any size tabletops on your table saw with a simple jig. All it needs is a plain jig with a careful setup.
You can cut diameters from 12 inches to one inch of the capacity of the rip-fence using this technique.
Why should you prefer a tablesaw? The answer is that it’s superior to bandsawing for larger circles. When you’re using the tablesaw, unlike when working with a bandsaw, the piece is completely supported, making it easier to manage. It’s easier to cut with a single cord than with two. You won’t have to worry about the tangle-prone cable since you’re simply standing in one spot and cutting. Also, the tablesaw method produces superior results. The edge created by a circular blade is cleaner than that produced by a bandsaw blade and it will not remove the terminate grain as router bit may.
The method to cut circles using a bandsaw is the same as that used in this tablesaw. A clamped-on jig having a center pin is used for cutting by twisting the blank against the blade. You may use a bandsaw to make rough-sawn blanks for the Lazy Jack. You must, however, begin with the help of a blank that has been roughed down. It may take a while to cut the end diameter of the circle. Making an oatmeal ring is similar to twisting a rough blank into a circle on the lathe. Where you gradually whittle down the high points until the item is perfectly spherical. Here is how to go about it:
- On the lower end of the blank, you need to draw a circle with the help of a compass or a trammel.
- To rough-saw blank 1/4 inches to 1/2 inches larger as compared to the end diameter, use a jigsaw. Draw a diameter line that extends all around the blank starting on its bottom face.
- If you don’t have a saw that cuts square, remove the remaining portion of the circle by enlarging the center hole which was used to fit the center pin of the jig. Install the blank. After that retainers are installed.
- Before you set up the jig, remove the saw from the power source and install a tooth bevel (ATB) blade having a minimum of 40 teeth, and elevate the blade to its fullest position. Set up a rip fence such that the jig and blank can pass comfortably the blade. Now, align the centerline of the blank with the guideline you already have made onto the clamp rail.
- Slide it into place, then clamp it firmly to the fence.
- Now for the first cut, you need to identify the jig by lowering the blade fully. To discover its widest point, spin the rough sawn blank. To make the cut, redo the fence so that the blade is 1/16 inches from this spot. A more forceful cut would not work; rather it would result in binding the blank and blade.
To summarize, the five-step plan outlined above is a lot easier to follow than the previous one. There are a number of clear instructions to show you what to do at each stage. All you need to do now is follow the instructions and you’ll be able to make your own circular jig at home for quick and easy cutting circles in your workshop.
Miter sleds, mitered.
A miter sled is among of the most essential jigs for a table saw, and here’s a simple procedure for making your own. You may build one of these from materials you have lying in your workshop, so it’ll cost you nothing. However, having one of them will allow you to cut this material far more quickly and simply than before.
The directions are rather basic, but the method isn’t complicated to understand. This method enables you to build your own Do-it-yourself miter sled for your own table saw.
Jig for regular Dadoes
Dadoes are often used to ensure that shelves and divisions are evenly spaced when constructing a cabinet. To produce a sturdy connection, the width of the dadoes must precisely match the plywood’s thickness. This is a problem because few plywood boards are precisely 3/4 inch thick. They’re usually 1/32 of the “nominal” thickness or less.
The locking mechanism makes this jig useful for cutting any piece of 3/4-in. plywood to a precise fit, regardless of its actual thickness. Use a top-bearing trim router bit with the jig. The bit is 1/2 in. broad and 1/2 in. deep. The cutter is supported by a bearing, which is fastened above the cutter. The bearing is flush with the cutting edges of the bit.
The enclosed jigs offer a variety of routing possibilities. Two 1/2-in. MDF parallel guides are included with this routing jig. When routing a dado, start by riding the bearing along with one guide and then making a second pass to ride the bearing over the other. This method of measuring allows the width of the dado to be determined by the distance between the guides. It’s simple to set up the guides. The one that is fixed to the jig’s 3/4-in. cross members are loose and adjustable, while the other is tight and nonadjustable. Take two small pieces of plywood and place them against the guide. Then guide the adjustable rail against the pieces and clamp it to the cross members. That’s all there is to it!