Chainsaws provide you with one of the quickest and easiest ways to cut large pieces of wood. That said, although chainsaw blades are very sharp and durable, they can still get dull over time. If you notice yourself having to apply a lot of pressure to make cuts, and it still takes a long time, it may be time to sharpen the blades on your chainsaw. So, how do you sharpen a chainsaw blade?
How to Sharpen a Chainsaw: Step-By-Step Tutorial
We will take you through a step by step process on how to sharpen your chainsaw’s blade.
-
Clamp the Chainsaw
The first thing is to clamp the bar of the chainsaw to your work surface. You can use a vice or tabletop clamp to hold the bar of the chainsaw. This will help make it easier to sharpen as it will hold the chainsaw in place.
If you don’t have a vice or clamp that can hold the bar of the chainsaw, you can also remove the chain from the bar and put it directly in the clamp. It is possible to sharpen the blade without clamping it, but it is much harder because you’ll have to stop the chainsaw from moving as you file the teeth.
-
Tighten the Chain
The next thing you need to do before you start sharpening the individual teeth is to tighten the chain. Locate the tension adjustment screw at the base of the bar.
Make sure to tighten the chain to the point where it is not at all loose, but can still move around the bar if need be. This will help stop the chain from moving as you go to file the teeth.
-
Mark the First Tooth
Now you want to use a permanent marker or something similar to mark the first tooth of the blade that you plan on sharpening. This will make it easier to remember where you started, so you don’t end up sharpening a bunch of teeth twice.
-
Selecting the Right File
You will need a round file to sharpen the individual teeth on the chainsaw. The round file needs to have the same diameter as the teeth on the chainsaw. You may have a chainsaw with larger or smaller teeth, which means that you will need a specific-sized round file to sharpen your blade.
-
Setting the File
Now that you have selected the right round file for the job, it’s time to set it in its place. Here, you want to place the file in the first notch in front of the first cutter tooth that you marked. The cutters are the angled teeth on the front of the flat surface of the chain.
You want to place the file inside this cutter notch, in front of the tooth that you marked earlier. You want about 20% of the round file’s diameter to be above the tooth. Keep in mind that chainsaws have cutters that face in both directions, so try to focus on all those facing one direction first, then move to the ones facing in the other direction.
-
Checking the Angle
Next, check the angle of the file in relation to the cutter. You will need to read your owner’s manual to check the angle at which the teeth were initially ground.
The two most commonly seen angles are 25 and 30 degrees. The teeth on your blade may have markings which indicate how the sharpening file needs to be placed. You can use a special chainsaw file holder to ensure that you have the right angle.
-
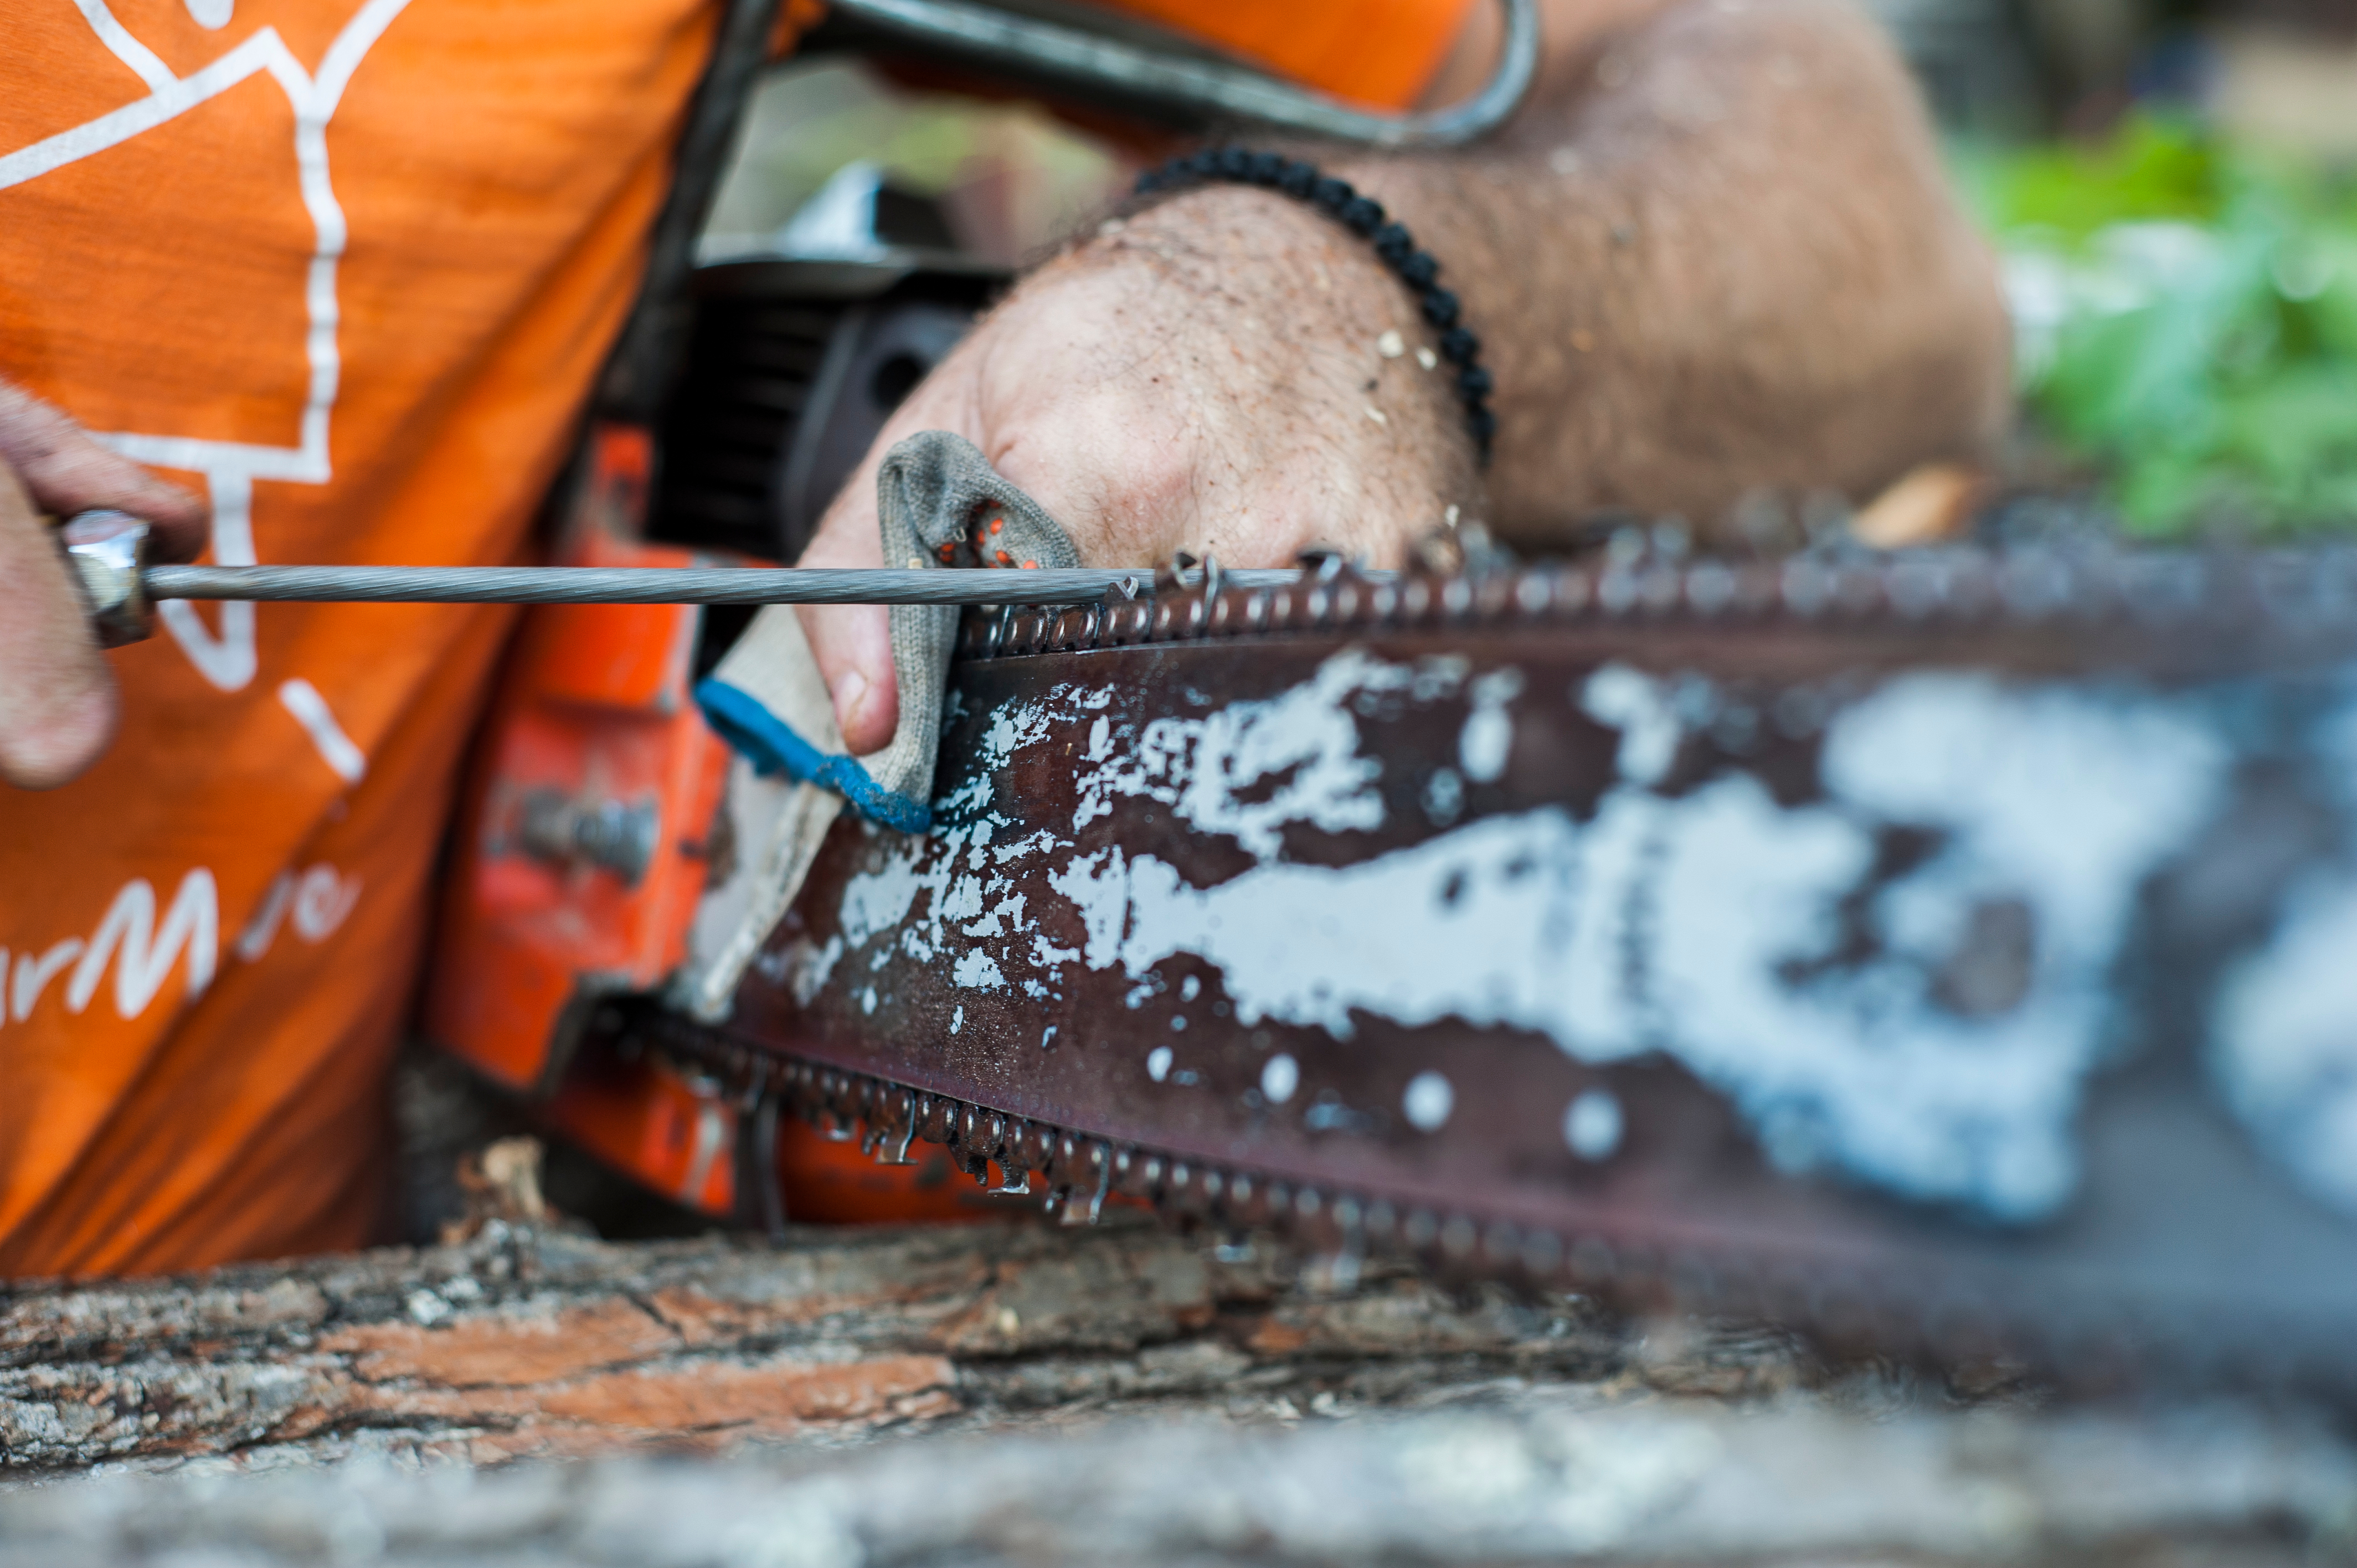
Sharpen
Slide the file forward along the cutter at the angle you determined above. Make sure to only move the file forward.
Never pull it backwards through the teeth, as this will make it duller. Repeat this between 5 and 10 times. Be sure to sharpen every cutter. Once the first is done, sharpen every second tooth from there. Remember that chainsaw teeth alternate directions.
-
Rotate and Keep Going
Seeing as you only got every second tooth, you now have to rotate the chainsaw 180 degrees. Turning it around will reveal the alternate teeth you didn’t get the first time around.
Flipping the saw will allow you to sharpen those alternate teeth without changing the direction or angle of filing. Use the same technique to sharpen these teeth as for the other teeth as described in the previous steps.
-
Filing the Rakers
Now that all of teeth are sharp, it’s time to deal with the rakers. The rakers are those little bumps along the chain in between each cutter. These help maintain the depth of cutting consistency, so they are quite important.
Use a depth gauge and place it over the chain. Place it at the first tooth you sharpened and push it forward until you get to the first raker. You will see that the rakers either protrude out from above the depth gauge or not. If the raker does not protrude out the top, move onto the next one.
If the raker does protrude from the top of the depth gauge, you’ll need to use a flat file to file it down. If you notice that the raker ends up having a flat top, you can file off the sides a little bit to create a point, but be sure not to remove any of the height if you do this. Continue doing this until you have taken care of all of the rakers.
-
Loosening the Chain
All that’s left is to use the chain tension screw to loosen the chain back down to a usable level. Your chainsaw is now sharpened and ready to go.
Conclusion
The most important thing to remember is to always take your time. Be sure to read your user’s manual before starting this process, as you really don’t want to get anything wrong.