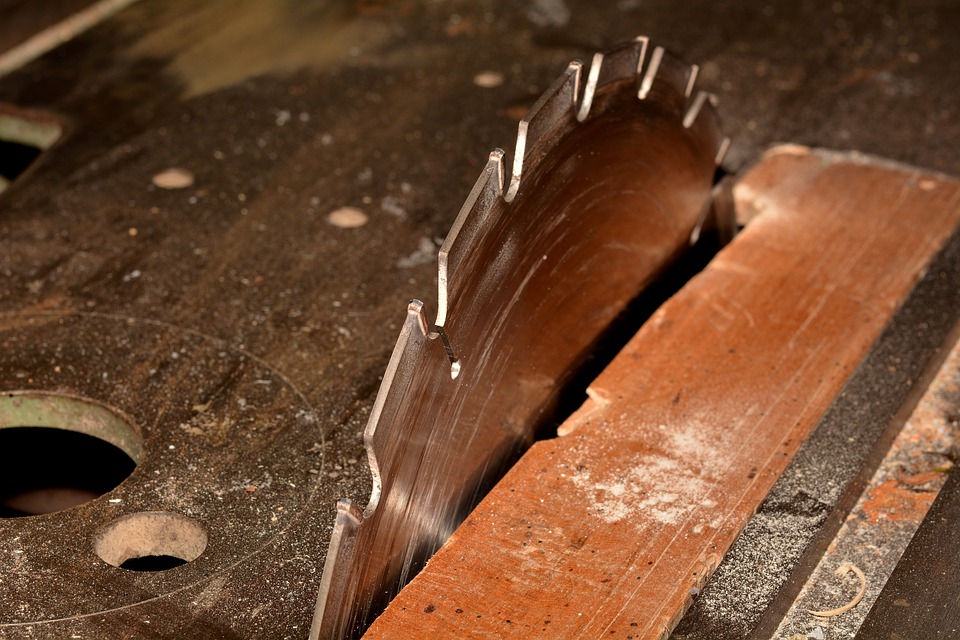
Rabbets and dados are two of the most popular methods for connecting pieces of wood in cabinet construction. They may be trimmed using a dado blade on a table saw, as demonstrated in the instructions below.
Don’t be fooled by the word dado—a dado blade, or dado stack, not only cuts dados and rabbets but it’s also used to cut both. When you hear carpenters talking about “dado out,” they’re usually referring to the fact that a dado blade cuts a gap into whatever you’re working with, regardless of the joint type.
How to define a rabbet joint?
A rabbet is a cut made into the edge of a workpiece’s perimeter. The tongue is the portion that protrudes from the piece. The result of connecting a rabbet to a piece of wood is a rabbet joint, which is commonly used to make shelves and cabinets. These joints are ideal for creating drawers, cabinets, and smaller products such as picture frames. They may be sliced with a table saw table-mounted router, or handheld router utilizing a rabbet or straight bit.
Because a rabbet provides more of a mechanical connection, a rabbet joint is sturdier than a typical butt joint, which is simply two straight edges joined together. The groove is often a thinner space between the two boards, allowing more room for the glue to fill in. This allows for a stouter joint since the rabbet pinpoints additional surface area for the wood to be bonded, resulting in a stronger connection except for simply nailing or gluing two straight edges together. For a more robust rabbet joint, use a double rabbet joint, in which both the edges of adjoining pieces are rabbeted.
Comparison of rabbet joints and dado joints
In carpentry, rabbets and dado joints are both employed frequently, and they may be used to make a rabbet and dado joint. A dado is a channel that has been cut into a piece of work. The channel, often known as a dado cut, receives another piece of material that is measured and cut to fit snugly inside the channel to form a dado joint. To build a rabbet joint and dado joints, the dado cut is given the rabbet to form a more solid and static joint than a through-dado.
A dado joint is a strong carpentry connection that’s frequently used in a range of woodworking projects, particularly as cabinet and shelf support that must be able to support hefty items. A chamfer (vs a rabbet’s two-sided surface) enables for further contact area on the neighboring piece of wood, resulting in a more durable end product.
Choosing the right joint type will influence the finished appearance and strength of the connection, so imagine where the cabinet or shelf will go and whether it will have to support heavy-duty or light items.
In four simple steps, you may cut a rabbet.
A table saw along with a stacked dado blade is an easy and accurate method for cutting all kinds of joinery pieces. A dado stack is a combination of saw blades with a 1/8 inch kerf on the outside and chippers on the interior, similar to bread. You may change the width of the dado stack to match your cut and material thickness by adding or removing inner blades.
If you’re using a small table saw or just are not comfortable in making wider cuts in one pass, make several passes to obtain the desired width. If only you have a router table or a handheld routing tool, be sure to get the right bit for rabbet cuts.
- The guide should be put in its proper position.
There are various ways in which we can cut a rabbet, including purchasing a specific rabbeting bit. A 1/4-inches x 1/4-inches snip is made here. 1/4-inches thick plywood is cut to the size that fits a cabinet back, then rabbeted in the rear to accept the 1/4-inches plywood back. Use a piece of similar wood to set up the guide’s position first, then tighten it in place.
- Routing the rabbet
To cut a rabbet, begin by running the router from the left towards the right along with the guide. You can also use this method to cut rabbets with greater width. I’m going to walk you through each of these methods, but the key is that you’ll have to make one pass down the guide and then freehand clean up the rest of the wood. Simply put, we’re just moving the bearing a bit away from the straight edge so that the last of the wood can be removed. Keep the router’s base as close to the guide as possible at all times.
- Dado stack set up
Always make sure the saw is turned off before working inside of it. To convert a regular saw blade to a dado stack, replace it with a dado stack. The width of the dado blade should be somewhat wider than the thickness of the plywood you’re working with. Cutting teeth should be turned toward you and offset from blade to blade. Make sure the blade is square and adjusts as needed.
- Sacrificial fence setup
Lower the blade until it’s flat against the rip fence, then secure a sacrificial fence with a rip fence to ensure that the cut reaches all of the wood’s thickness. A single-pass will ensure a nice, clean-cut.
- Run a test cut
Instead of a tape measure, use a metal ruler for additional accurate readings and set the dado blade to half-inch depth, or as needed, for the size of your workpiece. In general, the depth of the rabbet cut should not exceed a half-inch into the wood’s thickness or else the joint will be weakened and only a third is advised. Then, using scrap wood and clamps, cut your material to size. Make sure there is a ¼ inch ledge on each edge or whatever you want for your project.
- Making rabbet cuts.
Remove the Dado’s from all four pieces, leaving just the tops and the bottoms of the side pieces. Cut the pieces so that the cuts appear on the inside of the cabinet. If you use Ken’s measurements, the depth will be half an inch to allow for a quarter-inch space for the tongue. After a few rabbets are cut, examine the joint for fit and make any necessary modifications to your fence.